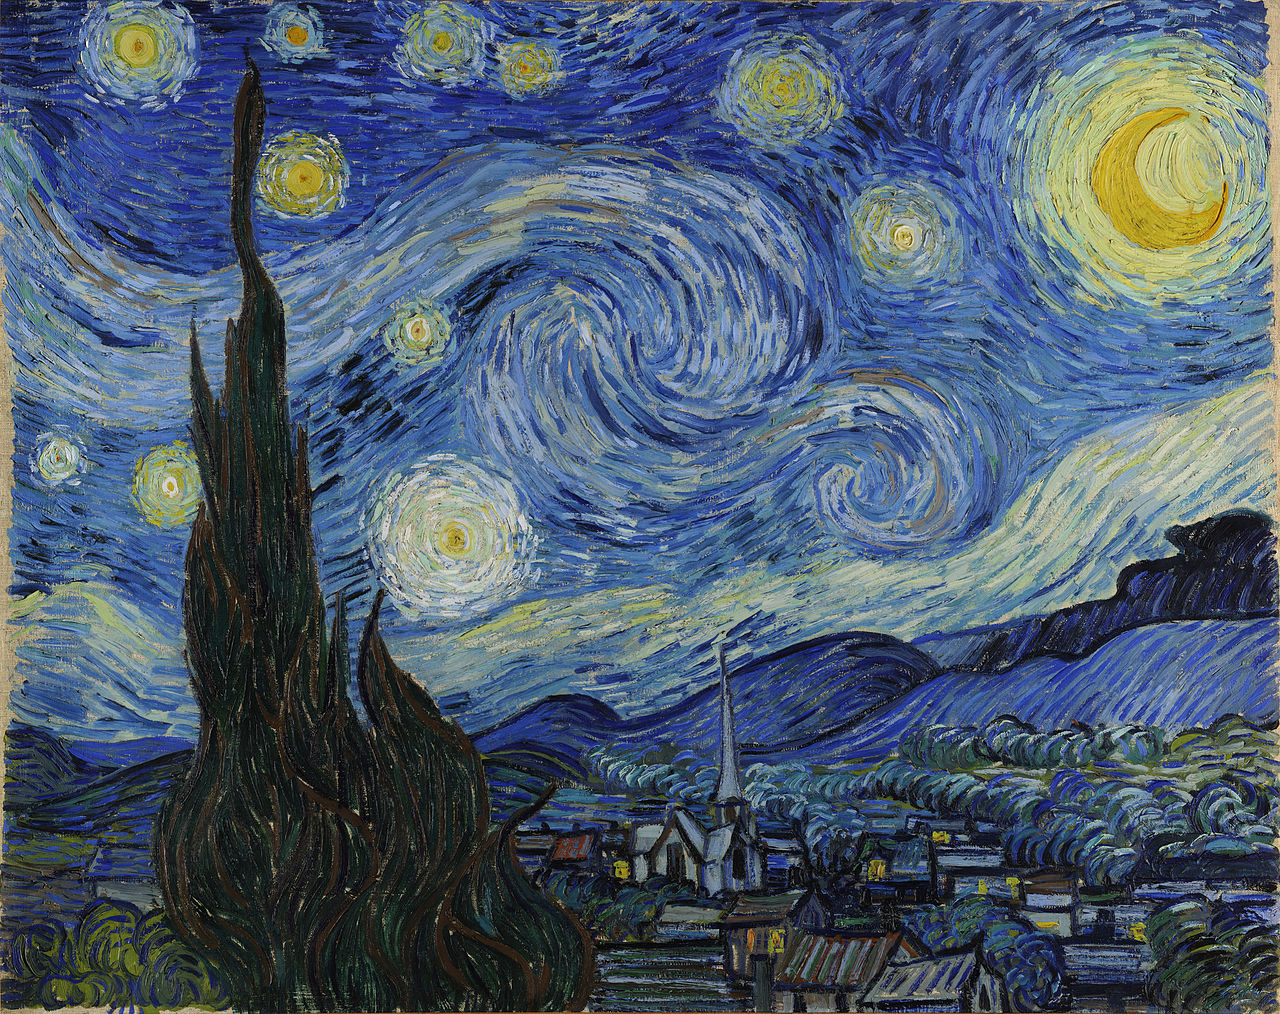
Style Transfer
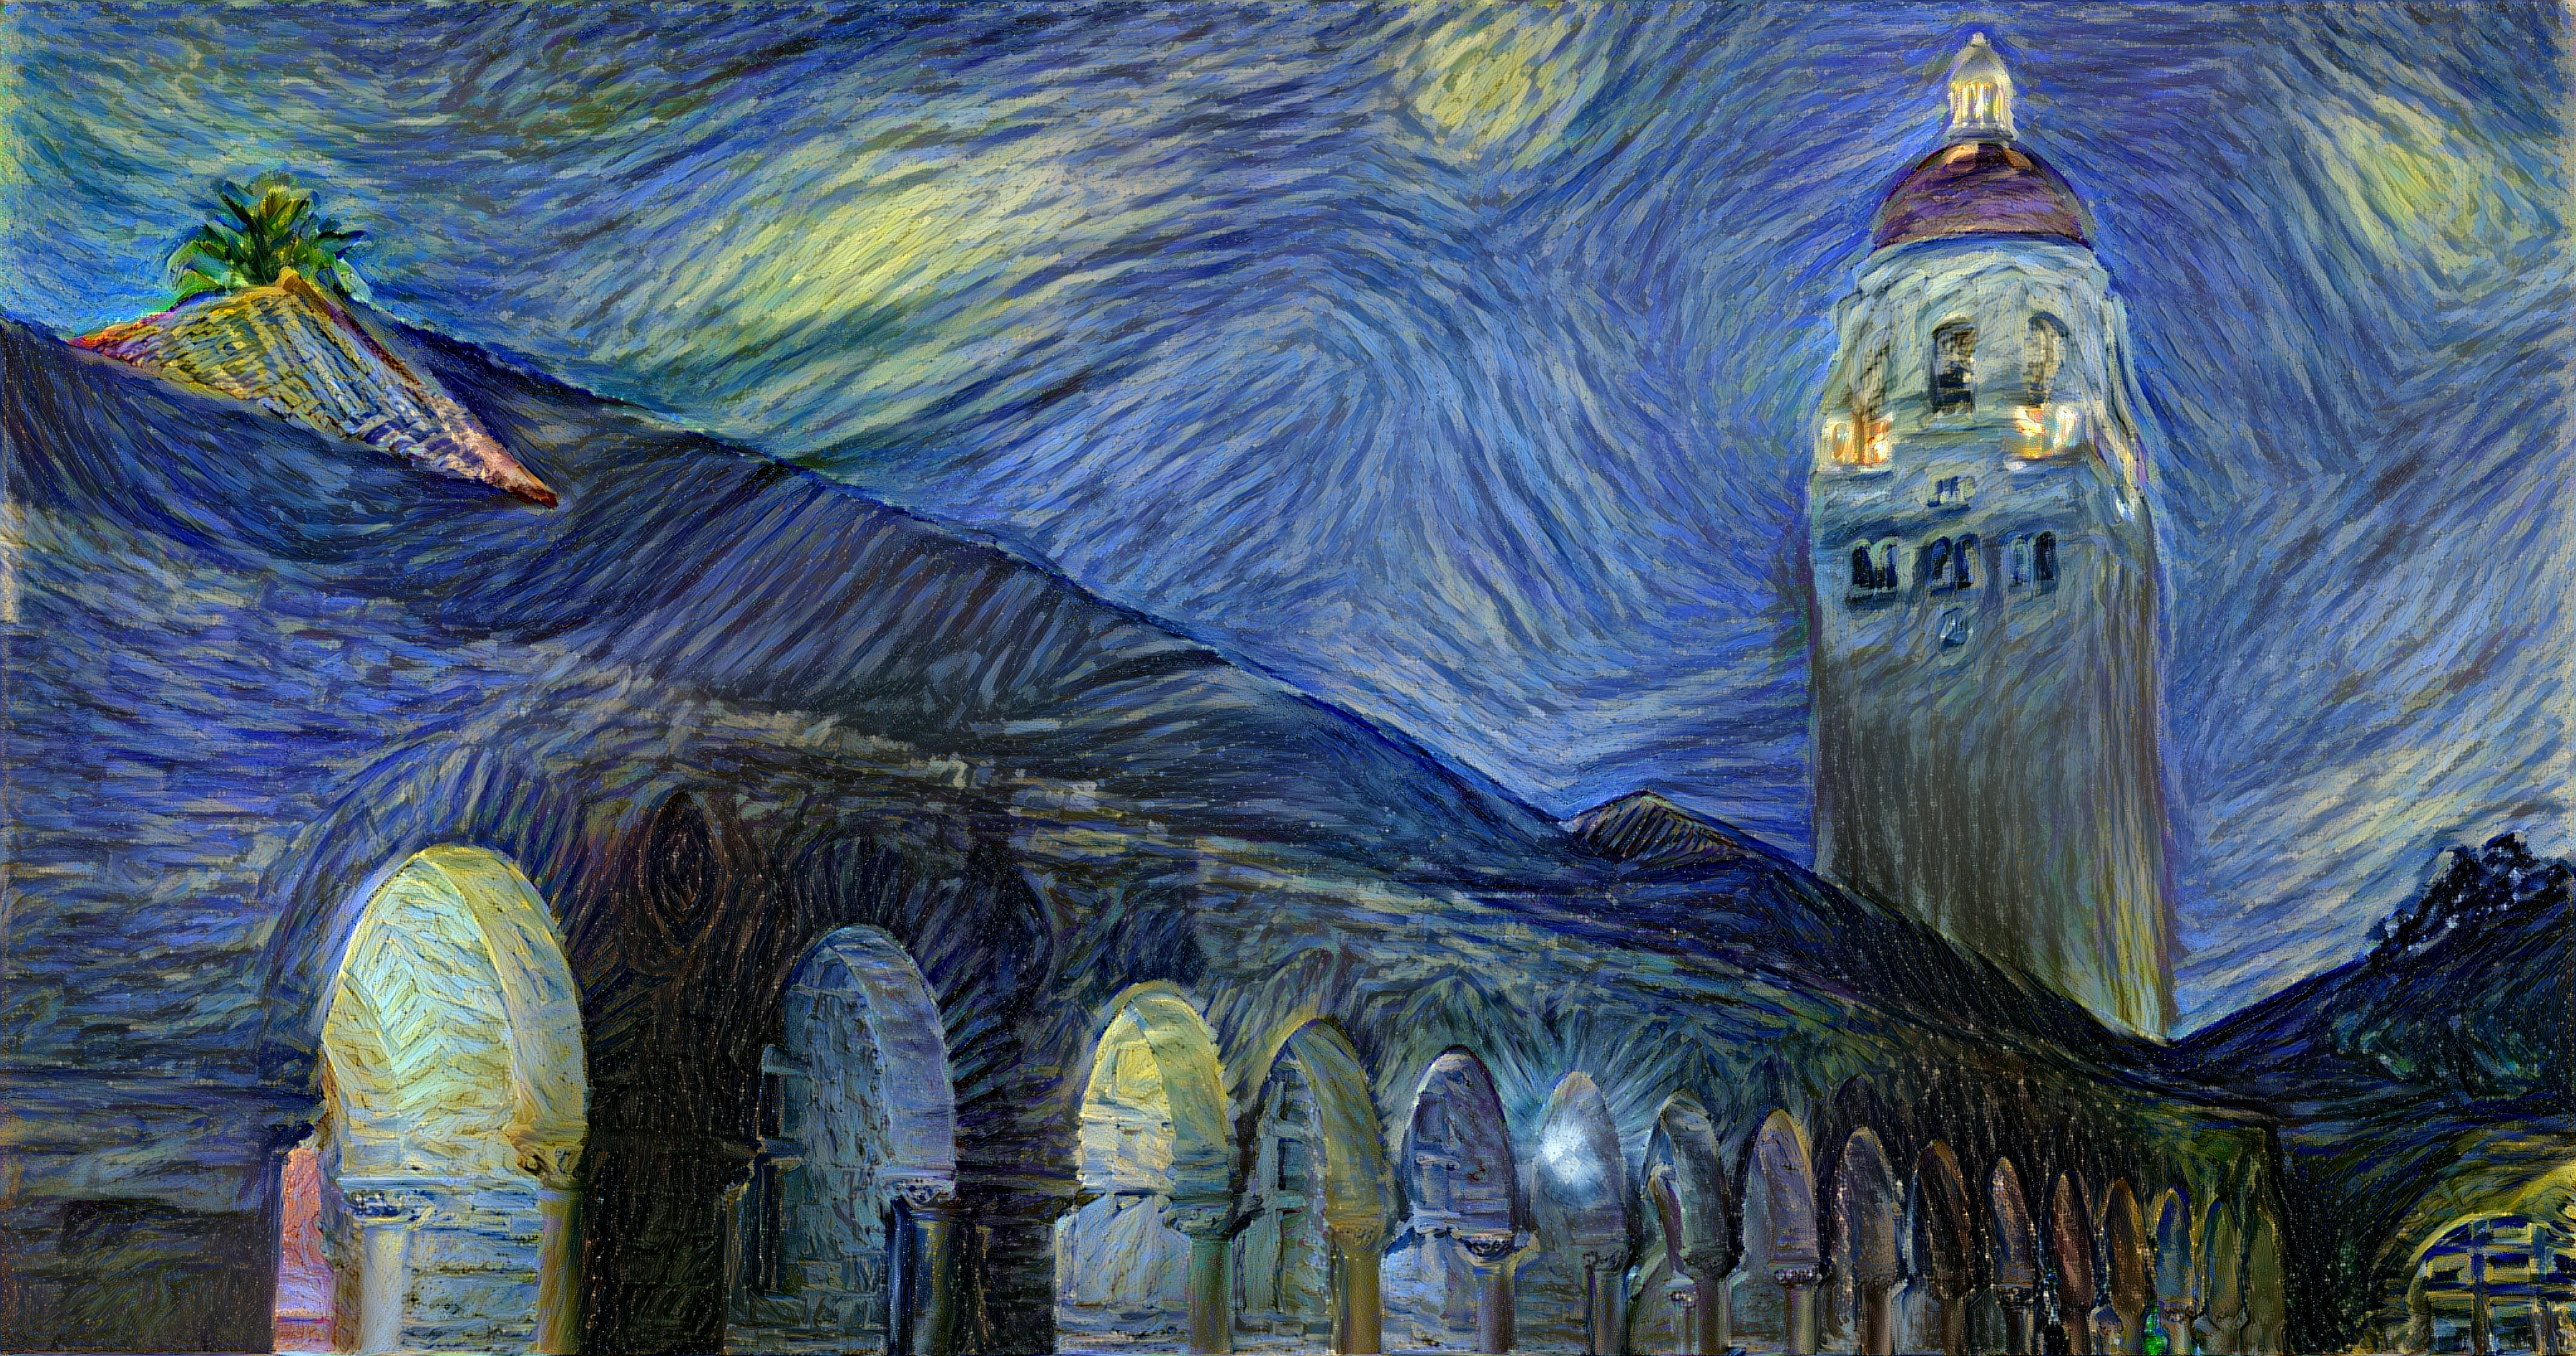
Neural Style Transfer is an algorithm for combining the content of one image with the style of another image using convolutional neural networks. Here's an example that maps the artistic style of The Starry Night onto a night-time photograph of the Stanford campus:

We will use this example to demonstrate how Floyd can be used to deploy your trained model as a REST API endpoint that can be accessed over the web. This feature is very useful if you want to quickly compare models or have others play with your models. This guide will walk you through how to do this.
Setup project
For this guide we will be using Fast Style Transfer project.
$ git clone https://github.com/floydhub/fast-style-transfer
$ cd fast-style-transfer
$ floyd init fast-style-transfer
Project "fast-style-transfer" initialized in the current directory
Train a model
You can train your model by running the style.py script in this repo on Floyd. You can specify any style image to use in the command line. Just
download it and keep it in current path. In this example we will be starting from a
pre-trained model.
Training data
This project also requires access to the imagenet-vgg-verydeep-19 model and image training data. Floyd already has this data source available.
You can mount this at runtime using the --data parameter.
Training
$ floyd run --gpu --env tensorflow-0.12:py2 --data narenst/datasets/coco-train-2014/1:images --data narenst/datasets/neural-style-transfer-pre-trained-models/1:models --data floydhub/datasets/imagenet-vgg-verydeep-19/3:vgg "python style.py --vgg-path /vgg/imagenet-vgg-verydeep-19.mat --train-path /images/train2014 --style examples/style/la_muse.jpg --base-model-path /models/la_muse.ckpt --epoch 1 --total-iterations 10 --checkpoint-dir ./checkpoints"
This will kick off a new job on Floyd. This will take a few minutes to run and will generate the model. You can follow along the progress by using the logs command.
$ floyd logs <JOB_NAME> -t
Output generated by your job. Floyd info can give you that information.
$ floyd info <JOB_NAME>
Evaluate your model
You can evaluate the generated model by running evaluate.py on sample images. Use the output name from the training step
as the datasource in this step. Add any image you want to style transfer to the images directory. Then run evaluate.py.
floyd run --env tensorflow-0.12:py2 --data <REPLACE_WITH_OUTPUT_NAME>:input "python evaluate.py --allow-different-dimensions --checkpoint /input/checkpoints/fns.ckpt --in-path ./images/ --out-path ./checkpoints"
$ floyd status <JOB_NAME>
$ floyd logs <JOB_NAME> -t
After the job finishes successfully, view the output directory to see the style transferred images. Run the floyd output for this.
$ floyd output <JOB_NAME>
Improving the model
You may notice that the output does not look great. That is because we ran the training for a small number of iterations. To train
a fully working model try the train step again, this time without setting --total-iterations and increasing the --epoch to 2.
It takes about 8 hours to train a model that works well. You can instead try one of our pre-trained models in the next section.
Evaluate pre-trained models
If you want to try out some awesome pre-trained models for various styles, you can use the datasource with models available publicly.
You can play with any of these model and style transfer any image you prefer. Just add them to images directory. And point to the
right model in the --checkpoint parameter.
floyd run --env tensorflow-0.12:py2 --data narenst/datasets/neural-style-transfer-pre-trained-models/1:models "python evaluate.py --allow-different-dimensions --checkpoint /models/checkpoints/la_muse.ckpt --in-path ./images/ --out-path ./checkpoints"
You can track the status of the run with the status command.
$ floyd status <JOB_NAME>
When the experiment is finished, you can see the style transferred images by running:
$ floyd output <JOB_NAME>

Model API
You can now host this model as a REST API. This means you can send any image to this API as a HTTP request and it will be style transferred.
Serve mode
Floyd run command has a serve mode. This will upload the files in the current directory and run a special command -
python app.py. Floyd expects this file to contain the code to run a web server and listen on port 5000. You can see the
app.py file in the sample repository. This file handles the
incoming request, executes the code in evaluate.py and returns the output.
$ floyd run --env tensorflow-1.5 --data narenst/datasets/neural-style-transfer-pre-trained-models/1:input --mode serve
Syncing code ...
JOB NAME
-------------------------------------------
narenst/projects/fast-style-transfer/5

URL to job: https://www.floydhub.com/narenst/projects/fast-style-transfer/5
URL to service endpoint: https://www.floydlabs.com/expose/mkxjJa46aJBdwP4AEdKxfU
Sending requests to the REST API
Now you can send any image file as request to this api and it will return the style transferred image.
curl -o taipei_output.jpg -F "file=@./images/taipei101.jpg" https://www.floydlabs.com/serve/narenst/projects/fast-style-transfer

You will see the default style (la_muse) is applied to the input image.
Trying out different models
You can also pass in the name of the checkpoint to use and the image will be style transferred accordingly:
curl -o taipei_udnie.jpg -F "file=@./images/taipei101.jpg" -F "checkpoint=udnie.ckpt" https://www.floydlabs.com/serve/narenst/projects/fast-style-transfer

This uses a different style checkpoint to render the image. All the logic for this is present in the app.py file. You can update it to
be as complex as you prefer.
Help make this document better
This guide, as well as the rest of our docs, are open-source and available on GitHub. We welcome your contributions.
- Suggest an edit to this page (by clicking the edit icon at the top next to the title).
- Open an issue about this page to report a problem.